

Whoopie!!! We are back again!!! I have a backlog of blog-post drafts that I baked for and documented ages ago that I have been meaning to edit for about a year now (yikes!). I will not make any excuses for the long hiatus but will just say that I am ready to put this blog back into full swing and will celebrate my intentional productivity with this Red Velvet Whoopie Pie recipe from Whoopie Pies by Viola Goren.
Before making these whoopie pies, I had never made or tasted any red velvet recipe before. For those who haven't either, it has a distinct cocoa flavour which I was a big fan of. They get their red colour from food colouring. I used food paste which is more saturated in colour and it doesn't take a lot to get a vibrant pigment. I found that the batter did not look as red as I thought it should, and so I used much more paste than the recipe called for. I find that the red pigment finally reveals itself once the cakes are baked and that one really just needs to use the amount of paste that the recipe calls for.
I used a special whoopie pie pan which gave the cakes a uniform shape since the batter is fairly runny, but you might be able to get away with not using one. I also found that the recipe for the filling made more than enough. I sandwiched a fair amount of it between the cakes and was left with quite a bit extra, so you might want to halve the recipe depending on your fondness for buttercream icing.
Enjoy!
Ingredients:
1 cup flour
1/2 tsp baking powder
2 Tblsp cocoa powder
1/2 tsp white vinegar or orange vinegar
1/2 tsp baking soda
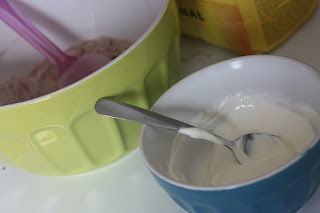
1/2 cup creme fraiche
4 oz butter, at room temperature
3/4 cup sugar
1 egg
1 Tblsp red food colouring
French Buttercream Filling:
4 egg whites
1 cup sugar
1 tsp vanilla extract
8 oz butter at room temperature cut into small cubes
1. Preheat the oven to 350 F. Line baking sheets with parchment paper, use silicone baking mats, or grease a whoopie pie pan.
Preparing the cakes:
2. In a bowl, using a rubber spatula, mix flour, baking powder and cocoa powder.


3. In a separate bowl, mix vinegar and baking soda. Add the creme fraiche, mixing well.
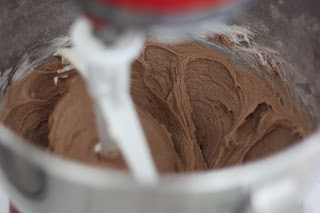
4. Place butter and sugar in a separate mixing bowl, beating with the mixer's flat beater until mixture is light, airy and creamy. Then add the egg and mix well.
5. Gradually add dry ingredients (prepared in Step 2) and creme fraiche mixture. Next, carefully add red food colouring and mix until incorporated. (It is best to start with one or two drops, adding as needed)

6. Drop batter onto prepared baking sheets, spacing evenly. Spread batter into approximately 1 1/4-inch circles.
7. Bake for 7-10 minutes or until cakes are springy to the touch and a toothpick, inserted in the centre of a cake, comes out clean. Remove from oven and allow to cool completely on a wire rack.


Preparing the filling:
8. Pour egg whites and sugar into a bowl placed over a pot of hot water (double boiler). Stir constantly until sugar is dissolved.
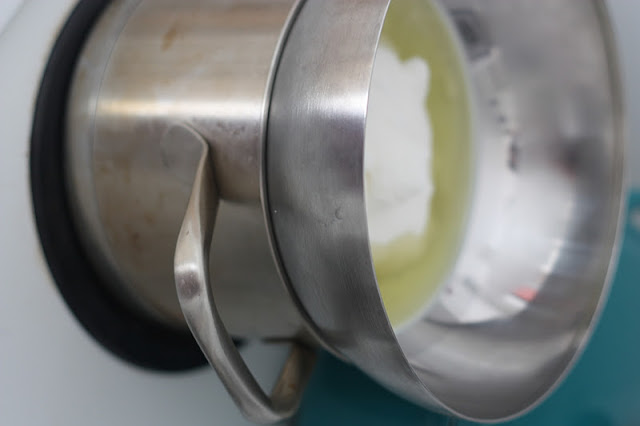
9. Beat eggs until mixture cools. Then gradually add vanilla extract and butter. Mix until cream is smooth and uniform.
10. When the cakes are completely cool, spread filling onto the flat side of a cake and top it with another cake. Press gently on top until filling spreads to edges.
Yield: 12 pies when using a whoopie pie pan
Since I made this recipe and took these photos a little over a year ago when I had just moved into my current apartment, I snapped several pictures of my favourite things in my new kitchen during the shoot. One of my roommates is a fellow baker, and the union of our cooking utensils and appliances (she brought the KitchenAid mixer--I'm a lucky girl!) has made for a very fun kitchen to work in.


No comments:
Post a Comment